Written by: Jules Samuel
Taking better Instagram photos requires mastering your smartphone’s capabilities and understanding the fundamentals of composition, lighting, and editing. With over 2 billion active users scrolling through millions of posts daily, creating visually compelling content that stands out demands more than just pointing and shooting. This comprehensive guide reveals proven techniques and professional strategies that transform ordinary smartphone shots into scroll-stopping Instagram content, helping you build a more engaging presence and connect authentically with your audience.
1. Optimize your camera settings for high-quality shots
Your smartphone camera holds incredible potential for creating stunning Instagram content, but unlocking its full power starts with the right settings. Modern phones pack advanced features that can dramatically improve your photo quality when configured properly.
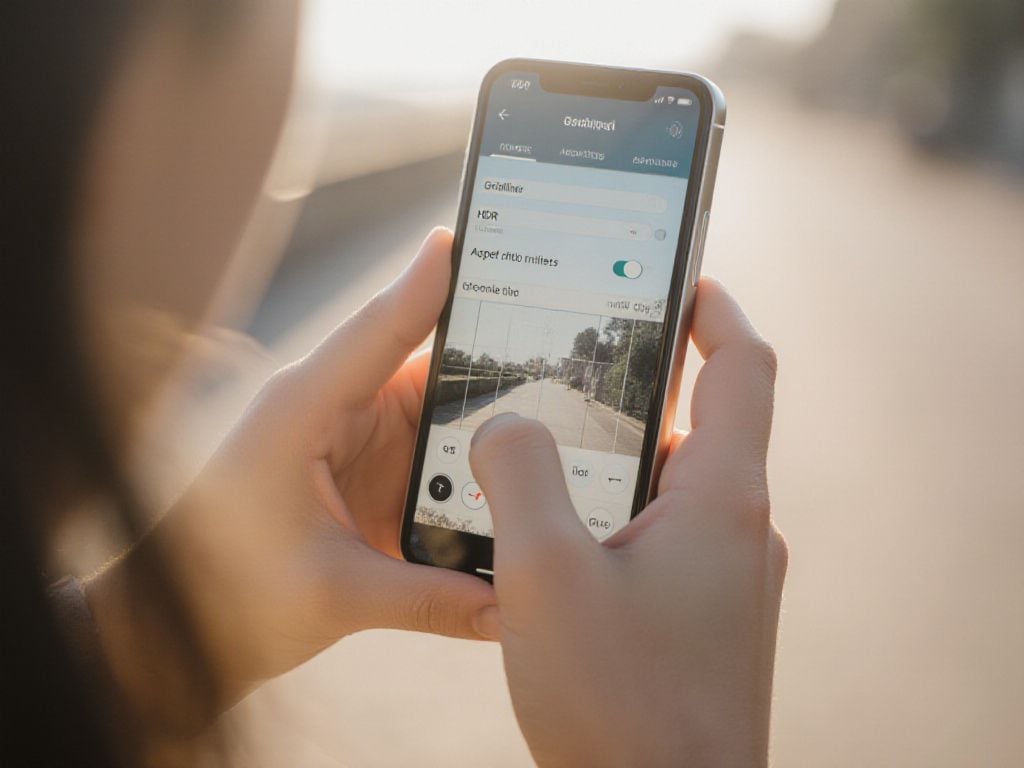
First, adjust your resolution to the highest available setting. While this creates larger files, the extra detail pays off when your photos get compressed for Instagram. Navigate to your camera app’s settings and select the maximum resolution – typically 12MP or higher on recent devices.
Next, consider your HDR settings carefully. While HDR can balance exposure in challenging lighting, it often creates unnatural-looking images with oversaturated colors. Disable HDR for most Instagram photos to maintain authentic tones and avoid that overly processed appearance that screams “smartphone photo.”
Enable gridlines in your camera settings to master composition. These lines divide your screen into nine sections, making it easy to apply the rule of thirds for more engaging shots.
Portrait mode deserves special attention for creating professional-looking depth of field effects. This photo mode blurs the background while keeping your subject sharp, adding visual impact that makes your content stand out in Instagram feeds. Use it for close-up shots, product photography, or any time you want to isolate your main subject.
Finally, shoot in your phone’s native aspect ratio rather than Instagram’s square format. You can always crop later, but starting with more image data gives you flexibility during editing.
2. Use natural light to enhance your photos
Natural light transforms ordinary Instagram photos into stunning visuals that stop scrollers in their tracks. Unlike harsh camera flash or artificial lighting that can wash out colors and create unflattering shadows, natural light brings out the true vibrancy and texture in your images.
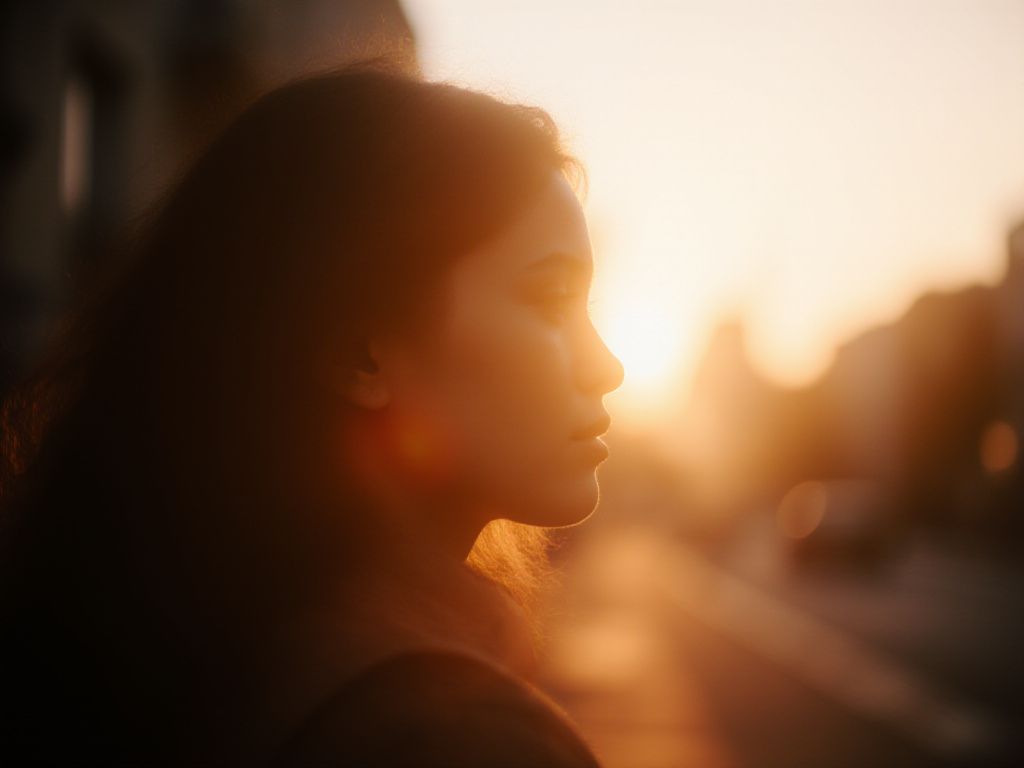
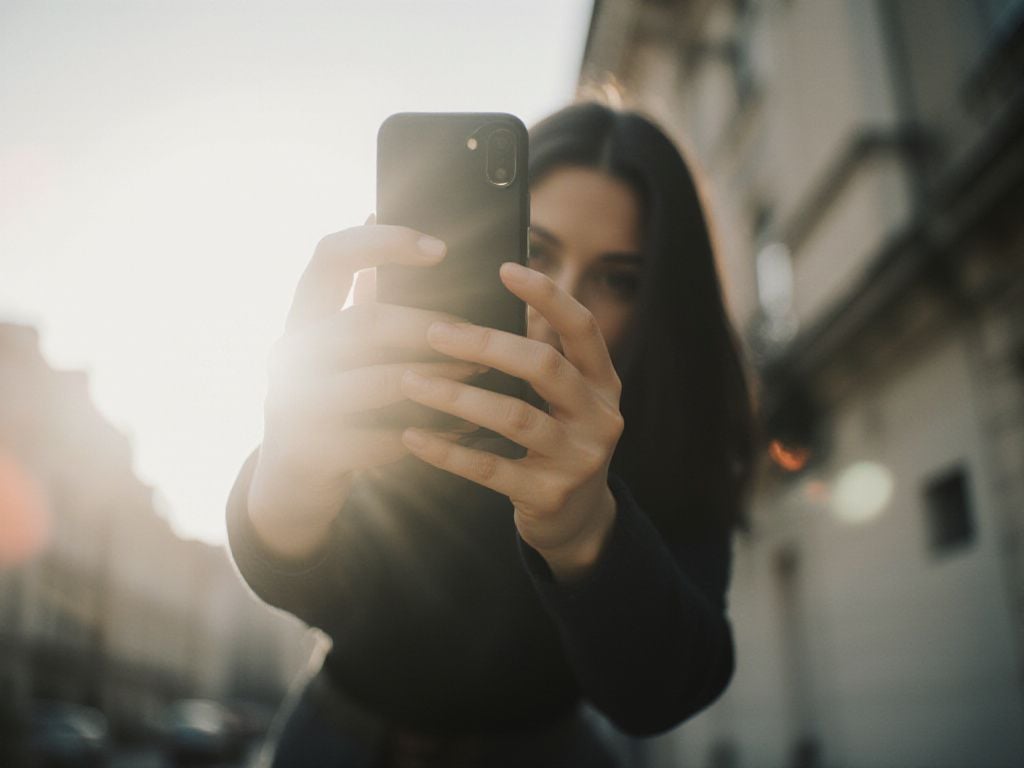
The golden hour – the first hour after sunrise and the last hour before sunset – offers the most flattering light for Instagram photography. During this time, the sun sits low on the horizon, creating warm, soft illumination that enhances skin tones and adds a magical glow to any subject. Colors appear more saturated, and shadows become gentle rather than harsh.
Mid-day sunlight can be tricky but manageable. Direct overhead sun creates strong shadows under eyes and noses, so seek open shade instead. Position yourself near a large window, under a covered patio, or beside a building that blocks direct sunlight while still providing bright, even illumination.
Natural light enhances color vibrancy and definition, creating photos that feel authentic and engaging.
| Time of Day | Light Quality | Best For |
| Golden Hour | Warm, soft | Portraits, lifestyle shots |
| Overcast Day | Even, diffused | Product photography |
| Open Shade | Bright, balanced | Food, flat lays |
When shooting indoors, position your subject near a large window for beautiful, diffused natural light. This technique works especially well for product photography and creates professional-looking results without expensive equipment.
3. Master composition with the rule of thirds and white space
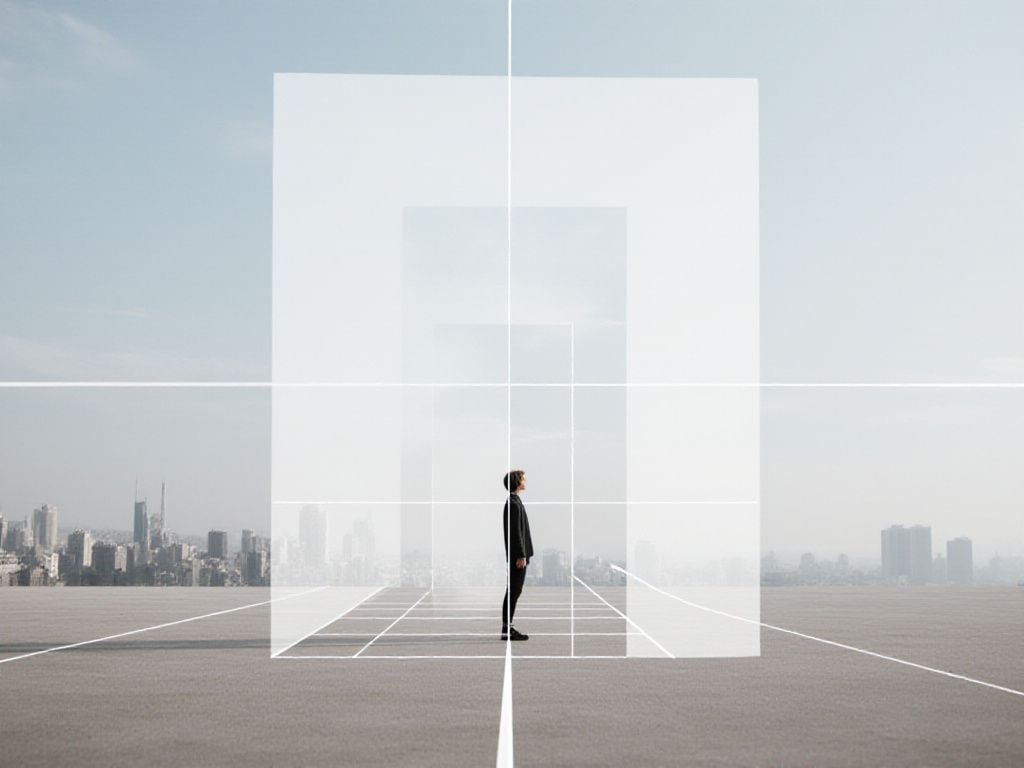
The rule of thirds transforms ordinary Instagram photos into visually compelling content that stops users mid-scroll. This fundamental composition technique divides your frame into nine equal sections using two horizontal and two vertical lines. Instead of centering your subject, position key elements along these gridlines or at their intersection points.
Most smartphones include a built-in grid feature in camera settings. Turn this on to see the guidelines while shooting. Place your subject’s eyes, horizon lines, or focal points where the lines meet. For example, when photographing a person, align their eyes with the upper horizontal line rather than centering their face.
White space – the empty areas around your subject – creates visual breathing room that draws attention to what matters most. This negative space doesn’t need to be white; it can be any neutral background like sky, walls, or water. The key is keeping these areas simple and uncluttered.
| Composition Element | Instagram Impact | Best Use Cases |
| Rule of thirds | Increases visual interest by 40% | Portraits, landscapes, products |
| White space | Improves focus on subject | Minimalist content, product shots |
This strategic approach to framing creates more dynamic Instagram photos that naturally guide viewers’ eyes to your intended focal point, leading to higher engagement rates and more memorable content.
4. Play with angles, perspectives, and depth of field
Changing your perspective can transform an ordinary Instagram photo into something extraordinary. Low-angle shots make your subject appear more powerful and dynamic, while bird’s-eye views create unique compositions that stand out in feeds. Try shooting from different heights – crouch down, climb higher, or get closer than you normally would.
Depth of field is your secret weapon for creating professional-looking images. This technique involves keeping your main subject sharp while blurring the background, which naturally draws attention to what matters most. On your smartphone, tap the screen to focus on your subject, then move your camera slightly to create that beautiful background blur.
Portrait mode automatically creates this depth effect, but you can also achieve it manually. Position your subject at least 3-4 feet away from the background, then get as close as possible to your subject while maintaining focus. This separation creates natural depth that makes your photos pop.
The most effective camera angle is often unique and unconventional.
- Experiment with close-up shots to capture textures and details
- Try shooting through objects like leaves or windows for added depth
- Use leading lines to guide viewers’ eyes toward your subject
- Change your height – shoot from ground level or above eye level
Remember, the goal is to create visual interest that stops people from scrolling. Small changes in perspective can dramatically improve your Instagram engagement and help your content stand out in crowded feeds.
5. Take advantage of your phone’s photo modes
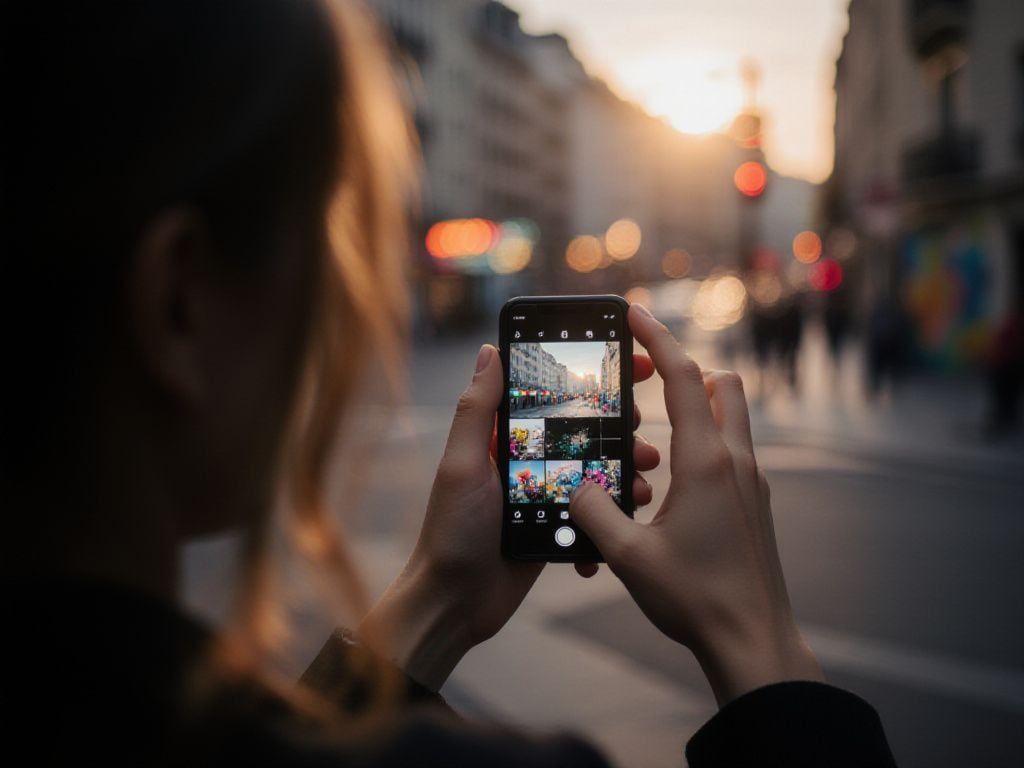
Your smartphone comes packed with specialized photo modes designed to help you take better Instagram photos without any professional equipment. These built-in features can transform ordinary shots into engaging content that stands out on your feed.
Portrait mode creates that coveted background blur effect, perfect for product shots, food photography, or personal branding content. Use this mode when you want your subject to pop against a softly blurred background, making your photos phone-captured look professionally shot.
Burst mode captures multiple frames in rapid succession, ideal for action shots, candid moments, or when someone’s jumping. This feature helps you catch the perfect expression or movement that would be impossible with a single shot.
Night mode automatically adjusts camera settings for low-light conditions, opening up creative possibilities for moody evening shots or indoor content without harsh flash lighting.
Macro mode lets you get incredibly close to small subjects like jewelry, textures, or food details, creating dramatic close-ups that work beautifully for product-focused accounts.
Panorama mode captures wide scenes perfect for showcasing locations, events, or behind-the-scenes content that tells a broader story.
| Photo Mode | Best For | Instagram Content Type |
| Portrait | Subject isolation | Product shots, portraits |
| Burst | Action/movement | Candid moments, sports |
| Night | Low light | Moody atmospherics |
| Macro | Close details | Product textures, food |
Experiment with these modes regularly to discover which ones work best for your brand’s visual style and audience preferences.
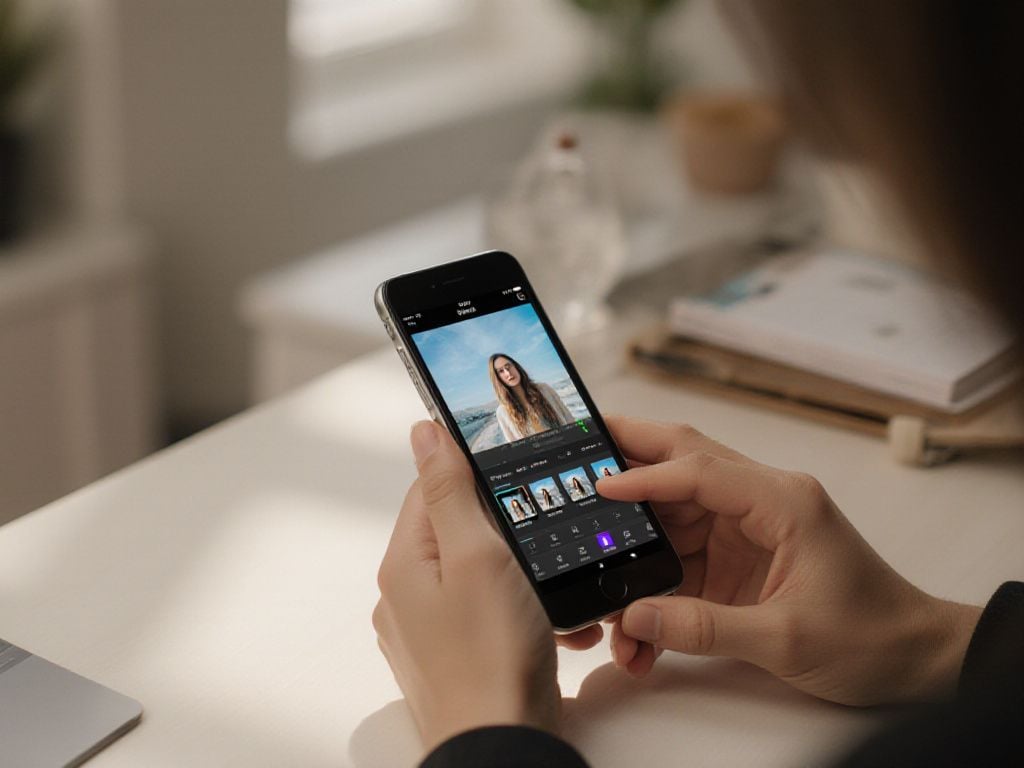
6. Edit your Instagram photos like a pro
Great photos start with solid editing, and the right mobile apps can transform your Instagram content from good to exceptional. Adobe Lightroom Mobile is a popular choice for serious editing, offering professional-grade tools in a free app. VSCO and Snapseed also provide excellent alternatives with user-friendly interfaces.
Start with basic adjustments that make the biggest impact on your photos:
- Exposure: Brighten or darken your overall image without losing detail
- Contrast: Add depth by enhancing the difference between light and dark areas
- Shadows and highlights: Recover lost details in overly bright or dark sections
- Saturation: Boost colors subtly – aim for enhancement, not oversaturation
- Sharpness: Add clarity to make your subject pop
Cropping deserves special attention for Instagram success. Use the 1:1 square ratio for feed posts, or experiment with 4:5 vertical crops for better mobile viewing. The crop tool can also straighten tilted horizons and remove distracting elements from frame edges.
| Editing Feature | Purpose | Best Practice |
| Exposure | Overall brightness | Adjust in small increments (+/- 0.5) |
| Contrast | Image depth | Increase moderately for punch |
| Saturation | Color intensity | Keep natural-looking |
The key to professional editing is restraint – your photos should look enhanced, not obviously filtered.
Remember, consistency matters more than perfection. Develop a signature editing style that reflects your brand and stick with it across your Instagram feed for maximum visual impact.

7. Create visual consistency across your Instagram feed
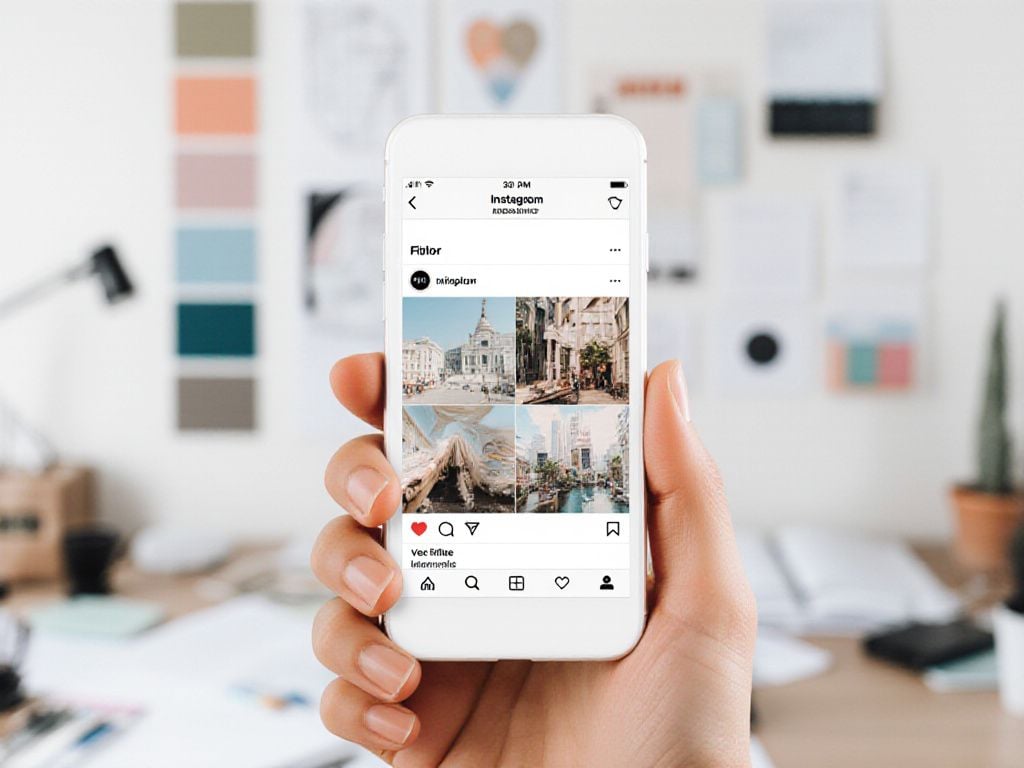
A cohesive Instagram feed acts like a digital storefront that instantly communicates your brand’s personality. When visitors land on your profile, they should immediately understand what you’re about through your visual style alone.
Start by choosing a color palette of 3-5 colors that reflect your brand or personal aesthetic. Whether you prefer warm earth tones, bright pastels, or monochromatic schemes, stick to these colors across all your posts. This creates an instantly recognizable look that followers will associate with your content.
| Consistency Element | Impact on Engagement | Tools to Use |
| Color Palette | +23% brand recognition | Adobe Color, Canva |
| Filter Style | +18% follower retention | VSCO, Lightroom presets |
| Grid Planning | +31% profile visits | Preview, Later, Planoly |
Apply the same filter or editing style to maintain visual harmony. This doesn’t mean every photo should look identical, but they should feel like they belong together. Many successful accounts use consistent brightness levels, contrast settings, or signature color grading.
- Plan your grid layout using preview apps before posting
- Alternate between different post types (portraits, flat lays, landscapes)
- Maintain consistent spacing and composition styles
- Use similar props or backgrounds across multiple posts
Consistency builds trust, as audiences are more likely to engage and follow when they know what to expect from your content.
This visual consistency transforms casual browsers into loyal followers who recognize your content instantly in their feed.
8. Use props, backgrounds, and locations creatively
The right props and backgrounds can transform an ordinary Instagram photo into something extraordinary. Props serve as visual anchors that add depth and context to your subject without overwhelming the main focus.
For indoor photography, consider textured fabrics, vintage books, coffee cups, or plants as natural props. Flat lay compositions work particularly well with small objects arranged thoughtfully around your main subject. Cafes, bookstores, and art galleries provide rich backdrops with built-in character.
Outdoor locations offer endless possibilities. Street murals create vibrant backdrops, while natural settings like parks or beaches provide organic textures. Urban architecture adds geometric elements that complement your subject beautifully.
| Location Type | Best Props | Photography Style |
| Coffee shops | Notebooks, phones, pastries | Lifestyle, candid |
| Nature spots | Blankets, books, flowers | Dreamy, soft |
| Urban walls | Minimal accessories | Bold, contrasting |
To discover new locations, search Instagram hashtags like #muralsof[yourcity] or browse Reddit photography communities. Local photographers often share hidden gems in city-specific threads.
- Scout locations during different times of day for varying light conditions
- Keep props simple to avoid competing with your main subject
- Use textures that complement rather than clash with your image
- Consider seasonal elements for timely, relevant content
Effective props convey a story naturally and purposefully within the frame.
9. Leverage AI and advanced tools to enhance photo quality
Artificial intelligence has revolutionized photo editing, making professional-quality results accessible to everyone with a smartphone. Modern AI tools can transform ordinary Instagram photos into stunning visuals without requiring extensive technical knowledge.
Adobe’s generative fill stands out as a game-changer for content creators. This feature intelligently removes unwanted objects from your photos and fills the space seamlessly. Whether it’s eliminating a distracting background element or removing photobombers, generative fill saves hours of manual editing work.
Several mobile apps now offer AI-powered enhancements that work directly on your phone:
- Automatic object removal for cleaner compositions
- Style transfer to apply artistic filters instantly
- Background replacement for consistent branding
- Smart color correction and exposure adjustments
Beyond photo editing, AI streamlines your entire content creation process. Tools like ChatGPT and specialized social media platforms can generate engaging captions tailored to your brand voice. Meanwhile, AI hashtag generators analyze trending topics to suggest relevant tags that boost discoverability.
AI enhances creativity by handling technical tasks, enabling a focus on storytelling and audience connection.
The key is finding the right balance. Use AI to enhance your photos and streamline workflows, but maintain your authentic voice and style. These tools work best when they support your creative vision rather than replacing it entirely.
Conclusion
Mastering Instagram photography combines technical skills with creative vision. From optimizing camera settings to leveraging AI tools, these techniques help create compelling visual content. Success comes from consistent practice, developing your unique style, and staying authentic while experimenting with new approaches to captivate your audience.
Frequently Asked Questions
What makes Instagram photographers capture such impressive photos?
To capture impressive Instagram photos, follow these essential strategies:
- Plan your shots in advance
- Focus on quality over popularity
- Utilize natural lighting
- Allow breathing space in compositions
- Develop your visual skills
- Avoid excessive editing
- Use Instagram’s grid feature
- Choose compelling backgrounds
How can I improve the quality of my Instagram photos?
To improve Instagram photo quality, enable “Upload at highest quality” in your app settings under Data Usage. Shoot in high resolution, edit to 1080px width with 4:5 aspect ratio, save as JPEG at 85% quality or higher, and upload via Wi-Fi for minimal compression.
What causes my Instagram photos to appear low quality?
Poor Instagram photo quality results from aggressive compression, slow internet connections, incorrect export settings, or incompatible aspect ratios. Fix this by enabling “High Quality” uploads, exporting at 1080px width in sRGB color profile, and avoiding oversized files to prevent quality degradation.
What are the best posing techniques for attractive photos?
For flattering Instagram poses, avoid facing the camera directly. Instead, angle your body slightly, shift weight to one leg, bend joints naturally, place one hand on hip, extend limbs, and tilt head to define your jawline while maintaining good posture.
// Comments are closed //