Understanding how to post on Instagram across different formats can help brands and creators share content effectively with their audience. Each posting method—photos, Stories, Reels, and desktop uploads—offers distinct features and capabilities. Mastering how to use Instagram across these various approaches may support more consistent content sharing and engagement with your followers.
Post photos and videos from the Instagram mobile app
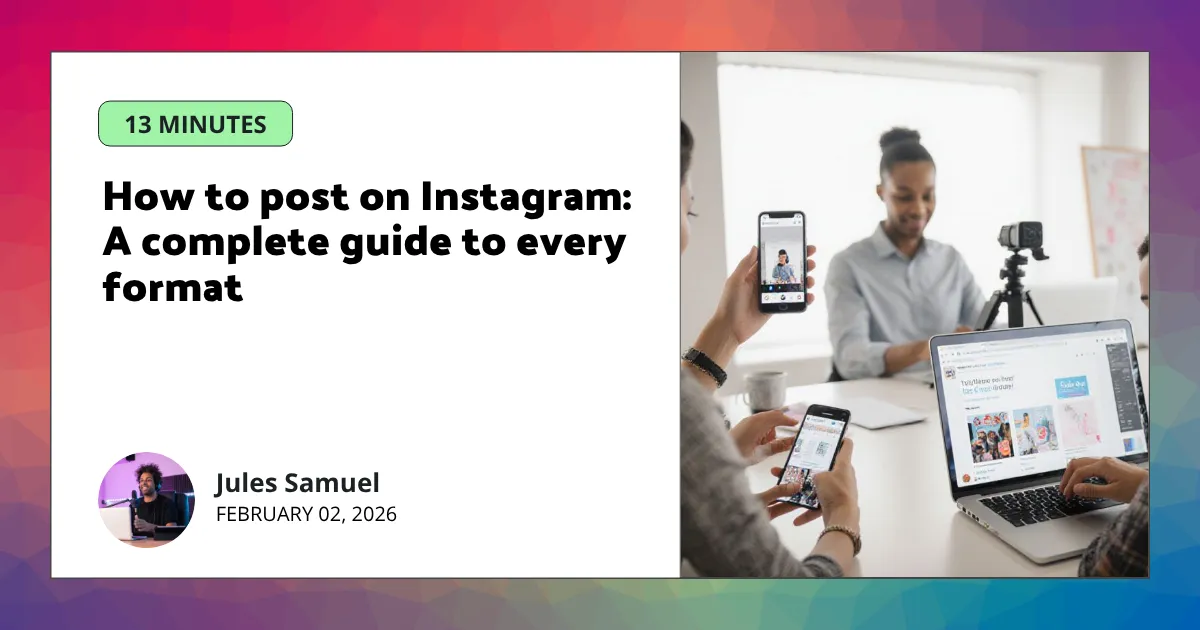
The Instagram mobile app provides the most straightforward way to share photos and videos with your audience. This native approach gives you access to all editing features and posting options directly from your smartphone. Understanding the different media formats and technical specifications can help you create content that displays properly across various devices and screen sizes.
Select your media type: single photo, carousel, or video
When you open Instagram and tap the “+” icon, you’ll see options for different content formats. Each format serves specific purposes for your social media presence.
Here are the main media types you can choose from:
- Single photo: Upload one image to showcase a product, announcement, or moment
- Carousel posts: Share up to 20 photos or videos in one swipeable post
- Video content: Upload clips up to 60 minutes long for tutorials or storytelling
Technical specifications for each format include specific aspect ratios and file requirements. Photos work well in square (1:1) or vertical (4:5) formats, while videos can use landscape (16:9) ratios for wider content.
Edit, crop and filter your content
After selecting your media, Instagram’s built-in editor allows you to refine your content before publishing. The editing interface provides tools for basic adjustments and creative enhancements.
Available editing options include:
- Cropping tools to adjust composition and aspect ratio
- Brightness, contrast, and saturation controls
- Filter options to maintain consistent visual style
- Text overlays and sticker elements for videos
File format compatibility supports JPG and PNG for images, while videos accept MP4 and MOV formats. Maximum file sizes are 8 MB for regular posts and up to 4 GB for video content.
The final step involves crafting your caption and adding relevant tags to help people discover your content. This section appears after you complete the editing process.
Key elements to include when you create your post:
- Descriptive caption text that provides context or tells a story
- Relevant hashtags to increase discoverability (up to 30 per post)
- Location tags to connect with local audiences
- User tags to mention collaborators or featured individuals
Once you add these elements, you can share your post immediately or save it as a draft for later publishing. The content will appear in your followers’ feeds and on your profile grid.
Instagram Stories offer a way to share temporary content that disappears after 24 hours. This format can help brands and creators connect with their audience through more casual, behind-the-scenes content. Stories appear at the top of followers’ feeds and may support higher engagement rates compared to regular posts.
Upload or capture media for your Story
To create a Story, open Instagram and tap your profile picture at the top left of the home screen, or swipe right from anywhere in the app. You can then choose from several options:
- Tap the camera button to capture a new photo or video in real-time
- Swipe up or tap the gallery icon to select existing media from your phone
- Hold the capture button for up to 60 seconds to record video content
Stories support both vertical and square formats, though vertical content (9:16 aspect ratio) tends to display better on mobile devices.
Add interactive elements and customize your Story
After selecting your content, you can enhance your Story with various interactive features. Tap the sticker icon to access options like polls, questions, music, location tags, and hashtags. These elements may help increase viewer engagement.
- Music stickers can add background audio to your content
- Poll and question stickers encourage audience interaction
- Location and hashtag stickers may expand your Story’s reach
- Text tools allow you to overlay written content on your media
You can also apply filters and adjust brightness, contrast, or other visual elements using the editing tools.
Publish and save Stories as Highlights
When your Story is ready, tap “Your Story” to share it with your followers. The content will remain visible for 24 hours before automatically disappearing. However, you can preserve important Stories by saving them as Highlights on your profile.
To create a Highlight, tap the “Highlight” option before publishing, or save existing Stories by tapping the three dots on your active Story and selecting “Add to Highlights.” This feature allows you to organize and display your most valuable Story content permanently on your profile.

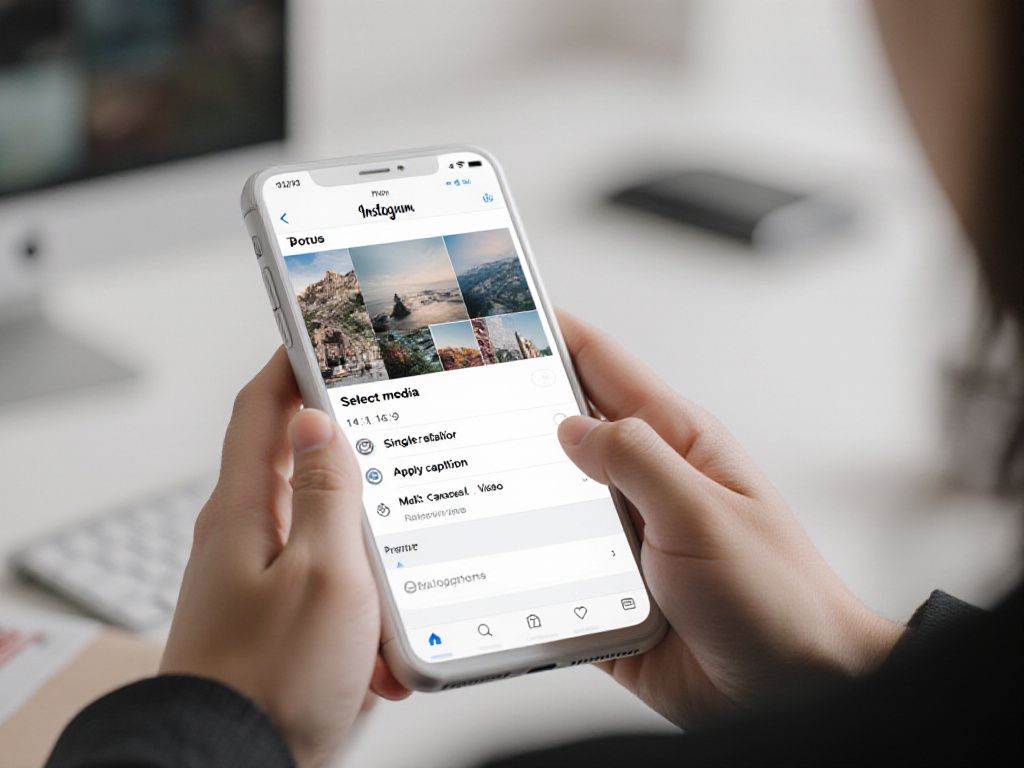
How to post Reels on Instagram
Instagram Reels offer a format for sharing short-form video content that can reach audiences beyond your immediate followers. But how long can Instagram reels be? These videos, which can extend up to 3 minutes in length, appear in multiple areas of the platform including the main feed, Explore page, and dedicated Reels tab. Unlike Stories, Reels remain permanently visible on your profile unless manually deleted.
Record or upload video clips for your Reel
To create a Reel, open Instagram and tap the “+” icon at the bottom of your screen. Select “Reel” from the available options. You can either record new footage directly within the app by holding the record button or upload existing videos from your device’s gallery.
When recording within Instagram, you can capture multiple clips by tapping and holding the record button for each segment. The app allows you to record in segments, which can help when creating content that requires different scenes or angles.
Edit your Reel with effects and music
After capturing or uploading your video clips, Instagram provides various editing tools to enhance your content. You can add background music from Instagram’s library, apply visual effects, and include text overlays. The platform offers speed controls to slow down or accelerate portions of your Reel.
Audio options include original sound from your recording, trending songs, or audio clips from other Reels. Text can be added at specific timestamps and positioned anywhere on the screen. Effects range from simple filters to augmented reality features that respond to movement.
Select a cover image and publish your Reel
Before publishing, you can choose a cover image that represents your Reel in your profile grid. This cover can be any frame from your video or a custom image uploaded from your device. The cover image appears in the 9:16 aspect ratio format.
Add captions and relevant hashtags to help your content reach interested viewers. You can also tag collaborators or locations if applicable. Once you share post, your Reel becomes visible to your followers and may appear in the broader Instagram ecosystem through the Explore page and Reels feed.

Post photos and videos to Instagram from your computer
While Instagram remains primarily mobile-focused, the desktop version offers a practical alternative for content creators who prefer working on larger screens. This approach can be particularly useful when you already have edited photos or videos stored on your computer and want to avoid transferring files to your phone.
The desktop interface provides basic functionality for sharing content, though it includes fewer editing features compared to the mobile app. Understanding these capabilities and limitations can help you decide when desktop posting might fit your workflow.
Log in and access the upload interface
Navigate to instagram.com using any web browser and sign in to your account. The desktop interface displays a simplified version of the platform’s features.
To begin creating a post, click the “+” icon located in the sidebar or at the top of the page. This opens the upload interface where you can select your content type:
- Single photo: Upload one image for straightforward content sharing
- Multiple photos: Create a carousel with up to 10 images that users can swipe through
- Video content: Share video files directly from your computer
The system accepts common file formats including JPG, PNG for photos, and MP4 for videos. Note that HEIC files from newer iPhones may not upload properly from desktop browsers.
Upload and edit your photo or video
Click “Select from computer” or drag files directly into the upload area. Once your media loads, Instagram provides basic editing options.
You can adjust the aspect ratio by selecting from these preset options:
| Format | Ratio | Use Case |
| Original | Maintains source dimensions | Preserves your photo’s natural proportions |
| Square | 1:1 | Classic Instagram format |
| Portrait | 4:5 | Vertical content that fills mobile screens |
| Landscape | 16:9 | Horizontal videos and wide photos |
The cropping tool allows you to reposition your image within the selected frame. However, advanced editing features like filters, brightness adjustment, or text overlays remain limited compared to mobile posting.
In the final step, you can compose your caption using the text box provided. The desktop interface supports:
- Text formatting and line breaks
- Hashtag insertion for content discovery
- User tagging by typing @ followed by usernames
- Location tagging for geographic context
Advanced settings allow you to disable comments, automatically share to connected Facebook pages, or add alt text for accessibility. Once you’ve completed these details, click “Share” to publish your post to your Instagram feed.
The content will appear on your profile grid immediately, though engagement metrics and detailed analytics remain more comprehensive when viewed through the mobile app.

Post Stories on Instagram using your computer
While Instagram’s desktop interface doesn’t natively support Story uploads, you can still share Stories from your computer through alternative approaches. These methods can help when you prefer working from a larger screen or need to maintain your content schedule while away from your mobile device.
Post Stories using browser Developer Tools
This method involves emulating a mobile view through your browser’s built-in developer tools. The process requires accessing Instagram through Chrome, Firefox, or Safari and switching to mobile simulation mode.
Here are the basic steps you can follow:
- Open Instagram in your browser and log into your account
- Right-click anywhere on the page and select “Inspect” or “Inspect Element”
- Look for the mobile device icon in the developer toolbar
- Select a mobile device from the dropdown menu
- Refresh the page to see the mobile interface
- Click the camera icon to add a Story
This approach may have limitations compared to mobile posting, including fewer interactive stickers, no music options, and potential display issues with certain browser versions.
Use a third-party tool to upload Stories
Social media management platforms can provide a more reliable way to share Stories from your computer. These tools often support scheduling and may offer additional features for content planning.
Popular management platforms typically allow you to:
- Upload media files directly from your computer
- Schedule Stories for future publication
- Add basic text overlays and stickers
- Preview how your Story will appear before publishing
When using third-party tools, you might need to complete the final publishing step through a mobile notification or companion app. These platforms can help maintain consistency in your content workflow while providing desktop convenience for planning and preparation.

Post Reels to Instagram from your computer
Instagram’s desktop interface now allows users to upload video content directly from their computers. All video uploads on the platform are automatically treated as Reels by default, which means your video content can benefit from Reels’ enhanced discovery features and reach within the Instagram ecosystem.
Upload and edit your Reel from desktop
To begin posting a Reel from your computer, navigate to Instagram’s website and log into your account. Click the Create button or the plus icon to access the upload interface. Select your video file from your computer’s storage.
The platform supports various video formats and allows you to upload clips up to 90 seconds in length. After selecting your video, Instagram provides basic editing options including:
- Trimming tools to adjust the video’s start and end points
- Aspect ratio adjustments to fit different viewing preferences
- Basic filters to enhance visual appeal
These desktop editing features may be more limited compared to the mobile app’s extensive effects library and music integration options.
Add a cover image, caption and publish
Once your video editing is complete, you can select a cover image that represents your Reel. This cover appears in your profile grid and can influence whether viewers choose to watch your content. Instagram allows you to pick any frame from your video or upload a separate image.
The caption section functions similarly to regular Instagram posts. You can write descriptive text, add relevant hashtags, and tag other accounts if appropriate. Consider that Reels often perform well with engaging captions that encourage interaction.
After reviewing your content and caption, click Share to publish your Reel. The video will appear in your followers’ feeds and may be shown to new audiences through Instagram’s recommendation system, potentially expanding your reach beyond your existing follower base.
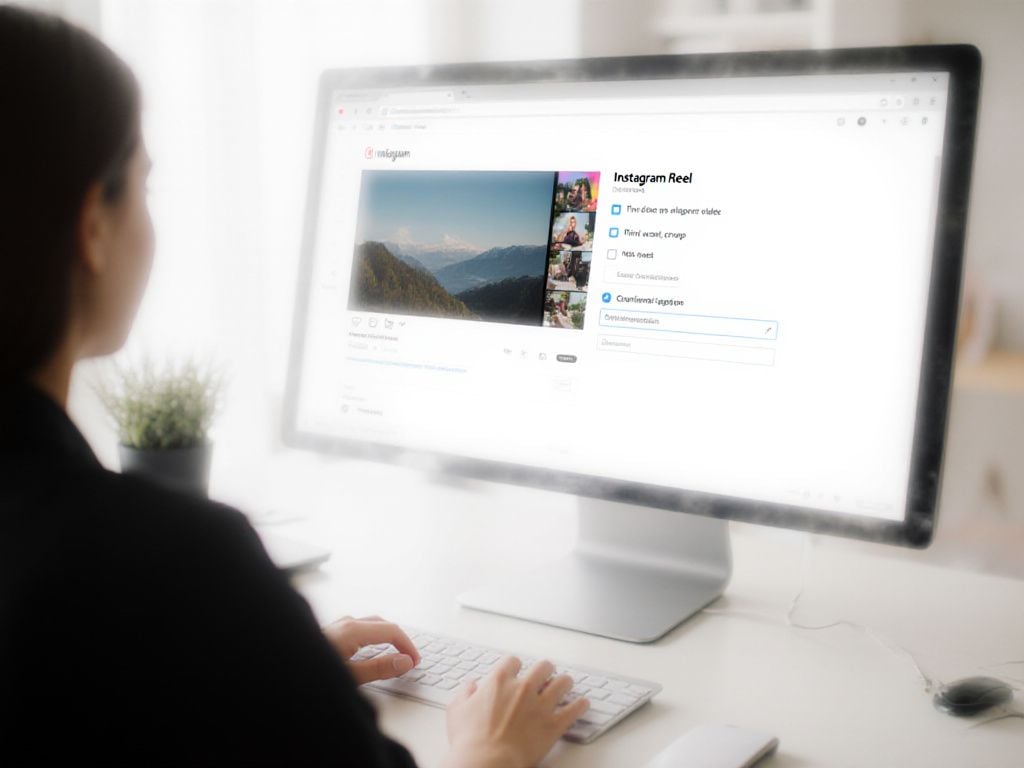
Create Instagram posts with design tools like Canva
Design tools can help brands and creators produce consistent, professional-looking content for their Instagram feeds. Platforms like Canva offer templates specifically formatted for Instagram’s dimensions, which may support visual cohesion across posts. These tools can be particularly helpful for users who want to maintain a specific aesthetic or branding approach without extensive design experience.
The following sections explore how design platforms can streamline the content creation process and the considerations involved in using templates for Instagram posts.
Choose a template and personalize your design
Design platforms typically offer Instagram post templates in standard dimensions like 1080×1080 pixels for square posts or 1080×1350 pixels for portrait format. Users can browse template categories that align with their content themes, such as product announcements, quotes, or promotional materials.
Template customization options may include:
- Text editing with various font styles and colors
- Image replacement using personal photos or stock libraries
- Color scheme adjustments to match brand guidelines
- Element repositioning and resizing
Some platforms provide brand kit features that can help maintain consistency across multiple posts by storing logos, color palettes, and preferred fonts. This approach may support cohesive visual identity development over time.
Export your design and upload to Instagram
Once the design is complete, users can export their creation in formats compatible with Instagram. Most design tools offer direct download options in JPEG or PNG formats, with automatic optimization for social media platforms.
The export process typically involves:
| Step | Action | Consideration |
| 1 | Select export format | JPEG for photos, PNG for graphics with transparency |
| 2 | Choose quality settings | Higher quality may result in larger file sizes |
| 3 | Download to device | Save to accessible location for Instagram upload |
After downloading, users can upload the designed content to Instagram using the standard posting process, adding captions and hashtags as needed. This workflow can help create more polished content while maintaining posting flexibility.
Mastering Instagram posting techniques
Different Instagram posting methods serve various content needs, from permanent feed posts to temporary Stories and engaging Reels. Desktop and mobile approaches each offer specific advantages depending on your workflow preferences. Understanding these options can help you choose the most suitable method for your content and audience engagement goals.
Frequently Asked Questions
What’s the basic process for posting on Instagram as a new user?
For new users, posting on Instagram involves tapping the plus (+) icon, selecting Post, choosing or capturing a photo/video, applying filters and edits, writing your caption, adding tags for people or locations, then hitting Share to publish your content to your feed.
To post multiple images on Instagram, tap the Create (+) button, select POST, then choose the “Select Multiple” icon (overlapping squares) to pick up to 10 photos/videos, arrange them in order, apply filters, add your caption and tags, then Share your carousel post.
What are all the posting options available on Instagram?
Instagram offers several ways to post content:
- Feed posts: traditional Instagram content
- Reels: short-form video content
- Stories: temporary 24-hour posts
- Live broadcasts: real-time streaming
- Guides: curated content collections
- Shopping posts: product-focused content
How do I create a text-based post on Instagram?
To write a text post on Instagram, tap the “+” on your Home page, select “Story,” choose “Create” from the menu, tap the screen to type your message, then share it to your Story, send to friends, or save for later posting.
// Comments are closed //